
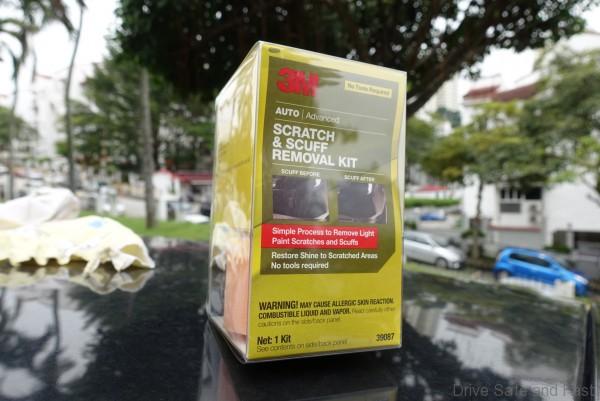
Last month, 3M Malaysia launched a slew of DIY car care products along with their LAZADA store. We were given a sample of the company’s ‘Scratch & Scuff Removal Kit’ and thought we’d give it a try.
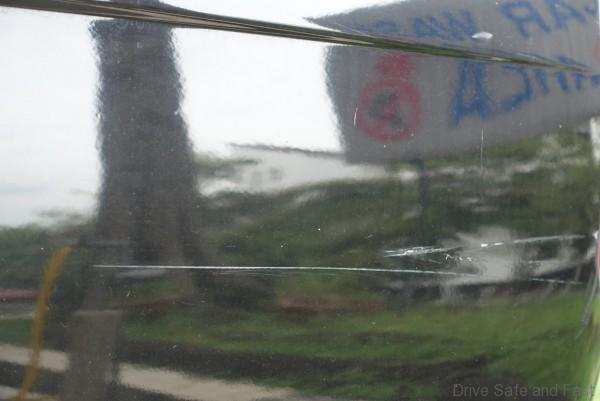
To demonstrate what the kit can and cannot do, we’re going to apply it onto a scratch that begins lightly before pressing slightly into the bodywork. It looks as if a bicycle, motorcycle or shopping trolley was responsible for giving our car this unsightly scar, but hey, perhaps 3M’s kit will come to the rescue.
Before we began, we took the time to unpack the kit and have a glance at the instruction. Note that you have to supply your own clean microfibre cloth. These can be purchased inexpensively nearly anywhere, including some 99 Speedmart outlets. You’re also advised to use a spray bottle with water. We also suggest having a separate microfibre cloth for drying.
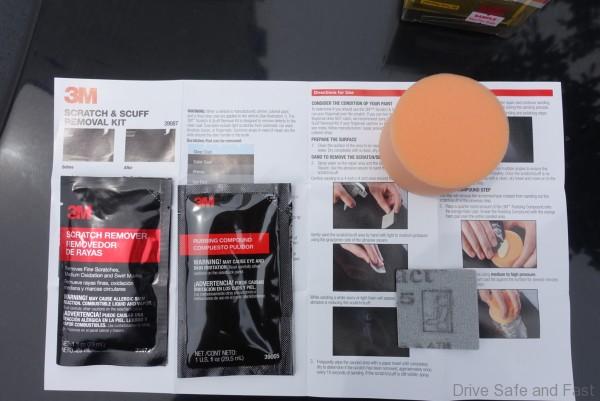
The kit contains the following:
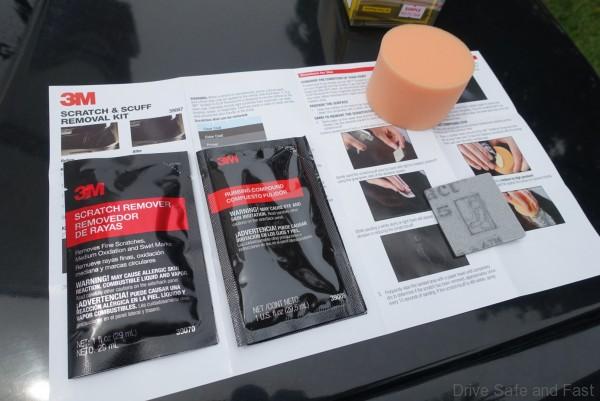
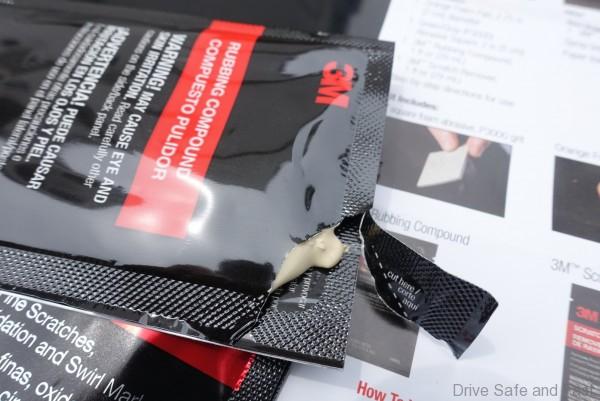
A sachet of Rubbing Compound (orange liquid)
A sachet of 3M Scratch Remover (white liquid)
An orange sponge applicator
A square of ultra fine 3000 grit sandpaper
Instructions and documentation
Here’s a summary of instructions. Please refer to the official documentations when using the kit yourself.

Start by determining if your scratch can be fixed by the kit. The instructions advise running your fingernail against the scratch. If a bump is detected, but your fingernail does not get caught in it, there’s a good chance the kit will work. Deeper scratches that go beyond the body paint will generally catch onto your fingernail and may not work with the kit.
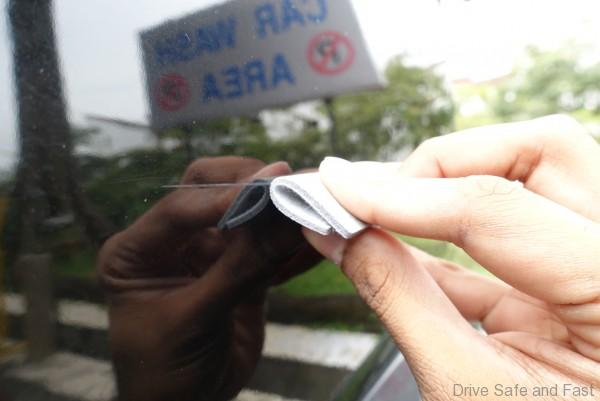
Next, spray the area with some water and wipe it down till clean. Spray more water onto the area and use the sandpaper to grind down the clear coat and bring the scratch down at the body paint level. Clean off any residue.
Then apply a little Rubbing Compound onto the sponge applicator and heavily apply around the affected area. This ought to leave a hazy residue around the area, but the scratch ought to not be visible now.
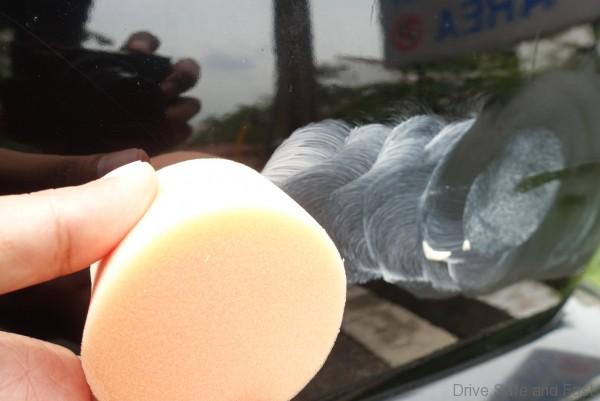
Finish up by applying a little Scratch Remover on the other side of the sponge applicator and repeating the process on the hazy area. When you’re done, you should be left with a shiny, scratch-free surface!
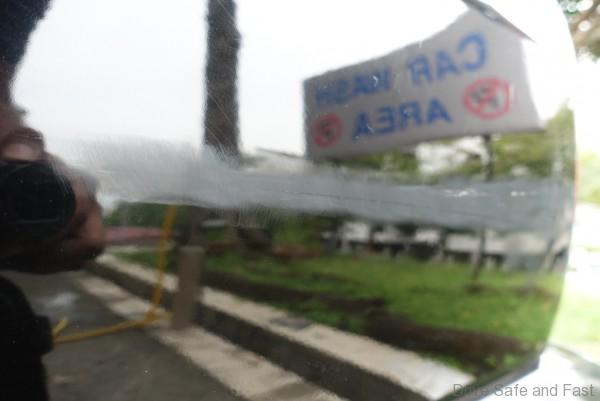
From our experience with the kit, it’s clearly easy and effective against most minor, scratches. We were surpised at just how good the results were. But don’t get your hopes too high, the photo doesn’t quite reflect how it looks to the naked eye. The deeper part of the gauge can still be seen in real life, but that is to be expected, given its depth.
We were very pleased with the results.
Our only real gripe with 3M’s product is the wastefulness of it. The sachets containing both liquids are single-use. 3M is more than capable of packaging these in reusable bottles or containers for the benefit of both the customer and the environment. More than half of the contents of our sachets went to waste, as we did not have the time or need to fix other scratches on our car. Sure, we could have found a way to seal these in our own containers, but by the time we were done, they were already leaking all over the place because that’s what disposable sachets do after being opened.
You can find the product on 3M Auto Care’s offical LazMall store here.
It should be priced at RM88, so make sure you’ve got enough time and scratches to get your money’s worth!